Whether your guests will be traveling to a different site for the reception or staying at the same location as the ceremony it is important for there to be an easy transition. Set up your reception venue is a way that will help your guests to flow through the evening, here are some easy tips on how to do that.
Room Layout:
- Entrance: Have your main entrance to the reception easy to find and access. Set your room up so that your guests will enter into the "welcome" area of the venue. This is the area that your gift table, guest book and escort cards would be displayed in. If having your reception at a venue that has multiple event rooms, place a sign outside of your entrance to ensure that your guests' are at the right party.
- Bar: Place your bar on the far side of the room, away from the main entrance. This will help alleviate any congestion between people trying to enter and people waiting in line to get a drink.
- Gift Table: Place your gift table in a easy to see (but secure) area so that your guests can set down their gift to you as soon as they walk in. Before they can sign the guest book or pick up their place card, they will need to set down that awesome gift they brought you, so locate it close to the other tables and not on the other side of the room.
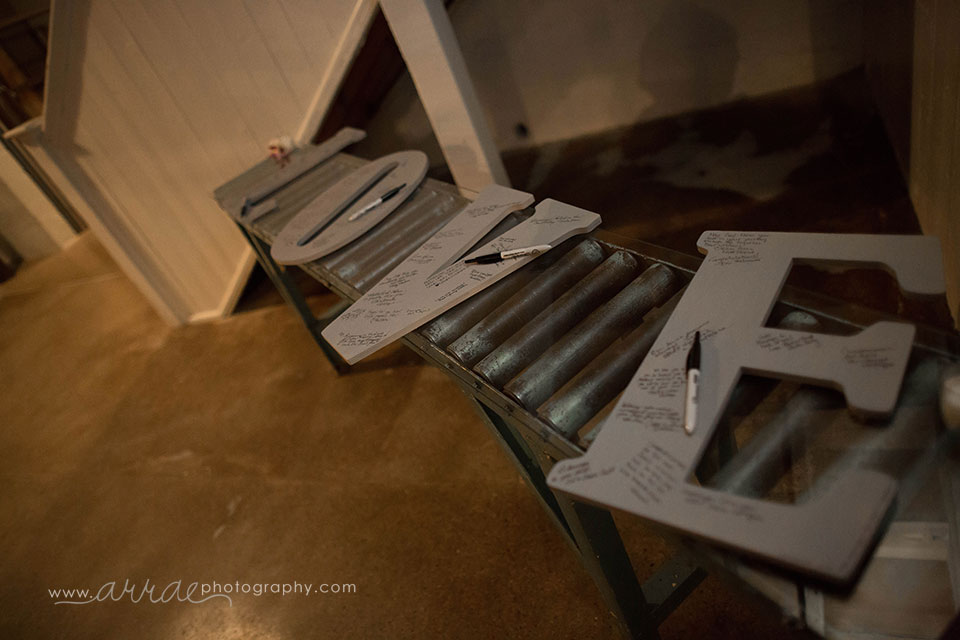
- Guest Book: When choosing where to place your guest book make sure there is room enough for multiple people to be there at once. If placing it directly inside the door, be prepared for a line to occur when the initial influx of guests arrive. If it is a nice day people won't mind waiting outside but if the weather is not good place your guest book inside further to allow more people to enter. When doing something fun and creative as your guest book, assign a friend or family member to man the table and assist or explain it to your guests. Always provide multiple pens or markers on the table so that multiple guests can sign at once.
- Place cards: Whether using an alphabetized list or individual place cards, put them close to or on the same table as the guest book. The best flow for your guests is to drop off the gift, sign the guest book and find out which table they are sitting at. Once they have done all of this they are free to enjoy the evening.
- I highly encourage my clients to do assigned seating. I know it is a lot of work but your guests will appreciate it. It can be very awkward and uncomfortable for guests to have to walk around and ask "is this seat taken?" or "can we sit here?". Especially if they are friends from work or someone who may not know anyone else at the party.
- Keep them simple. All you really need to do for assigned seating is assign each guests a table. There is no need to assign it down to the exact chair unless you are having a smaller event and want to place the guests at specific spots.
- If doing a list instead of individual cards, ALPHABETIZE it by last name, not by table number.
- Table Numbers: If you are assigning tables to your guests it is very important to label the tables and reference that label on their place card. A popular idea is to name the tables after favorite things of the couple (places they have been, favorite love songs, etc.). I highly recommend also numbering them. Why? If you have 25 tables, your guests will have to wander around the room and read 25 table names in order to find their own. If the tables are also numbered your guests will have an easier time finding their assigned table. The number does not need to be large, but something small under the name would suffice How ever you label your tables make sure that it is cohesive between the names on the tables and the names on the place cards.
- When placing your table numbers on the tables place them so they are visible to the main entrance so that guests can see them easily.
- Also, number the table so that they go in order and not random around the room, it is much easier to follow a pattern.

This couple's dog, Joe, was the inspiration for their table numbers. Each table had a picture of him in a costume with a tag line incorporating his name. This was Table 9 - Cup O'Joe. They also had Mean Joe Green, Joe Blue, Sherlock Joelmes, etc. It was great and the guests wandered around all night checking them out.
(Sorry for the terrible picture, it literally is from a disposal camera!)
- Guest Tables: Place your guest tables far enough apart that even with the chairs pulled out there is room for people to walk through. As a guest, I have experienced it many times, where you get to your table and sit down but once everyone is seated there is no way to get back out. Venues have a capacity for more than just the fire marshal. They have set up their room multiple times and know just how many people can fit, and fit comfortably.
- Dance Floor/DJ: I like to see the bar, DJ and dance floor all in the same general area. Once the dancing gets started your guests will split up between those there to party and those that want to visit with each other. Creating different areas within your venue will allow everyone to enjoy the evening. I suggest to younger couples to place their friends closer to the dance floor since those are most likely the people that will be dancing and their older guests farther away from the dance floor and speakers. Splitting your room up with encourage all of your guests to stay longer.
- Restrooms: If the restrooms are not easily seen from the main room or hallway, place a cute sign to assist guests with finding them. A simple "Restrooms" sign with an arrow would be perfect.
Now, I know that not all venues are alike and you may not be able to use all these tips but incorporating even just a few will help to make your guests experience at your reception a positive one.
Happy Planning!
Michelle
No comments:
Post a Comment